
Design
The first step of knife making is the design process. It can be argued that the design phase is the most important part of knife making. Without a solid design you often end up with something that resembles a shank. When I begin the knife design process, I always have a certain use or application in mind. We will be using the Backpacker as an example.
When I designed the Backpacker I was wanting an ultralight EDC blade that would be my companion on hikes, but sufficient when cleaning fish and game, and performing general camp tasks.
When I sat down to design this knife, I looked at knives from my favorite makers and I combined all of my favorite attributes.
Taking Shape
Once the design phase is complete, it is time to turn the two-dimensional sketch into a 3D object. To do this, I create a template out of G-10. This allows me to keep a consistent shape from blade to blade. Once I have my template finished, I place it on a piece of bar stock for scribing. I then scribe a line around the template and move over to the band saw to remove the bulk of the material. Once the rough cutting is done, it is time to move over to the belt grinder to refine the profile of the knife.
Here I grind off the excess steel until I reach my scribed line.
Pay Attention to the Details
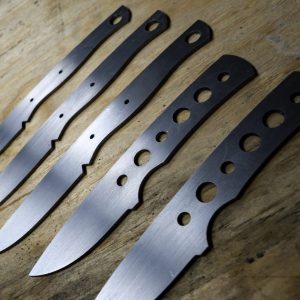
After the knife blank is profiled, it is time to skeletonize the tang. This is done to reduce weight and improve the balance of the knife. I use calipers to scribe a center-line on the tang of the knife and I measure out the spacing between each hole. I then step over to the drill press and skeletonize the tang. I start with a 1/8″ drillbit and make my way all the way up to a 3/8″ bit.
At this stage most knives are ready to have the bevels rough ground. However, the Backpacker requires a few extra steps.
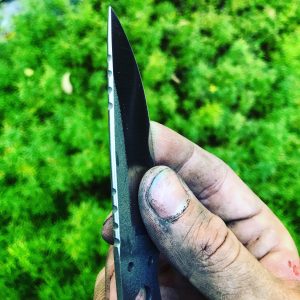
The Backpacker has 4 half-round jimping grooves hand filed on the spine to help improve the grip when the knife is used in slippery conditions. These grooves are filed in by using a series of files. I first mark the correct spacing between grooves. I then use a triangle file to start the groove and get it to the proper depth. I follow up with a 3/32″ chainsaw file and “open up” the groove.
To aid in comfort during use, the Backpacker has a rounded tang. This is acheived by draw filing the tang of the knife to remove and round the sharp edges. Once the edges have been roughly rounded, they are refined and cleaned up using sandpaper.
Heat Treat
It is now time to harden the steel. The first step of heat treatment is to use a proper heat treat recipe which will result in a knife that lives up to its full potential. Once the proper heat treatment recipe is determined it is time to prepare the knife for heat treat.
The first step is to clean and degrease each knife blank (this step may not be necessary, but it puts my mind at ease). Next, I wrap the blades in stainless foil and bring them up to the proper soaking temperature. The next step is to quench the blades. For stainless steels I use aluminum plates to quench the steel, followed by a long soak in liquid nitrogen.
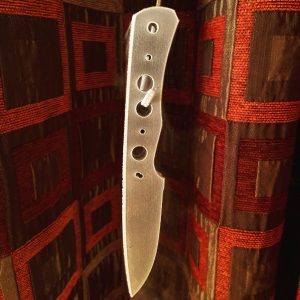
Now the blades are completeley hardened, but they are extremely brittle. I follow up with a couple of temper cycles and the knife is ready for finishing.
Fingers to the Grindstone
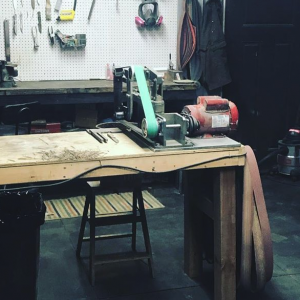
Now that the knife is hard, it is time to grind the bevels to their final shape. During this step it is extremely important to keep the steel cool. Overheating the knife at this step can result in a ruined temper and a knife shaped object that won’t hold an edge. A 5-gallon bucket of water next to the grinder and t frequent dunks into the water keeps the knife cool.
Handles
Now that we have a finished knife blade, it is time to give it some handle scales. This is where things can get really creative. Matching woods and synthetics with liners and bolsters is an artform in itself. I spend a lot of time creating handle combinations that bring out subtle details in every knife.
Most of my Backpackers don’t get handle scales, and the ones that do usually don’t get full sized scales. So this portion of the process applies primarily to my other blades.
To create a set of scales I have to make sure that my main material and liner materials are perfectly flat. That ensures that I don’t have any gaps when they are glued together. Once the scale set is complete, it is time to drill the pin holes and rough out the shape. To do this, I mark out the hole positioning using the knife blade and I drill out the pin holes. I then outline the knife tang on the scale set and cut it out on the band saw.
Now that I have scales that fit the knife, it is time to glue it all toghether. I epoxy the scales to the knife and apply pressure with clamps. Once the epoxy is cured it is time to shape and sand the scales. This is acheived by using the belt grinder and elbow grease.
Finishing Touches
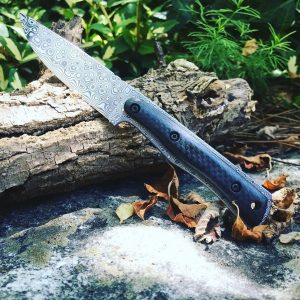
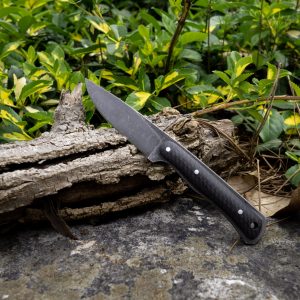
Once I have sculpted the scales and progressed through all the necessary grits of sandpaper, it is time for a coat of Howard’s.
I then etch my makers mark on the blade and give the blade a good sharpening.
And we have a finished blade!
HOW CAN WE HELP YOU?


